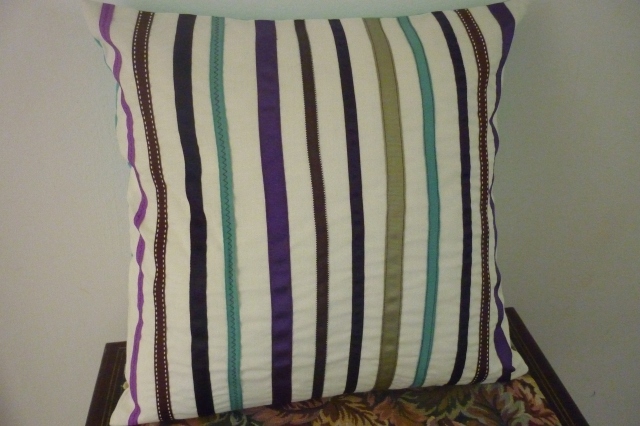
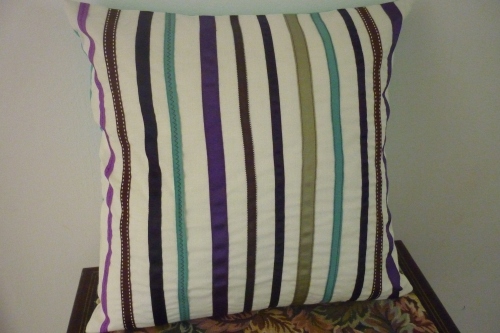
I rustled up this little beauty last night.
It’s very eco-friendly because it’s made with offcuts of ribbon; ribbon that I’ve collected over the years. I pounce on anything wrapped in pretty ribbon so I can add it to my ever-growing ribbon stash.
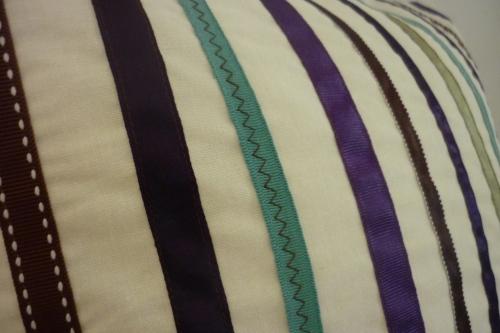
This is actually my third stripy ribbon cushion. I recently made one with all red ribbons, and a while ago I made my daughter a pink-themed one (of course!). They’re quite simple in style (I did design it myself!!), but you do have to be accurate with your stitching in order for it to look neat. Parallel lines are key here. In my opinion, grosgrain ribbons are the best; they don’t wiggle around like satin ones do. But I don’t have a great amount of these (of course I could buy new, but that’s not the point!) and besides, I think the end result is more attractive with ribbons of different materials and styles.
I’ll run through how I did this.
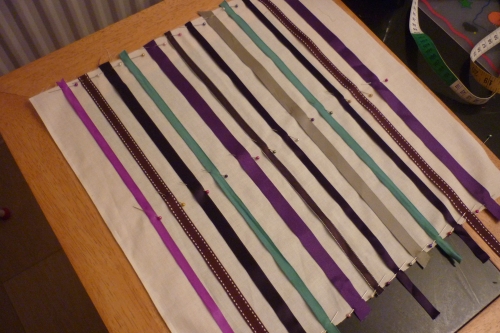
I was making a 40cm square cushion, so I cut my backing fabric 42cm square and laid out my pressed ribbons in parallel lines. The ribbons I chose have an earthy-tone theme; I think it’s rather nice. They just happened to be the ribbons I have in my jar! I didn’t measure the distance between them because I didn’t really want the distances to be exactly the same.
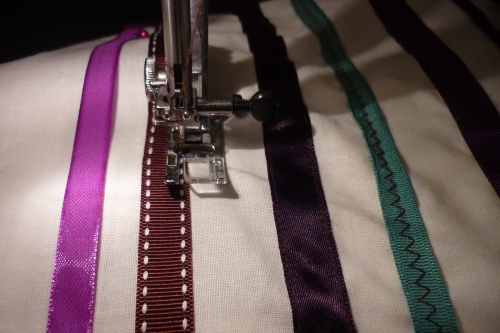
Then it was time for the intricate stitching. It takes some practice getting the lines straight, and I’m pretty sure there were a couple of occasions where the stitching slipped out of line a bit. Two of the ribbons were stretchy, which was odd; they were difficult. But overall, I was quite impressed with myself.
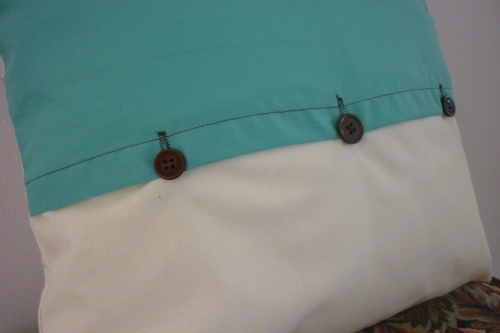
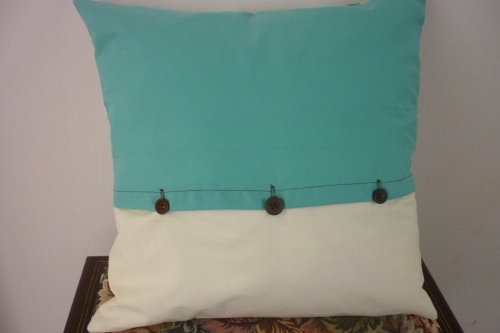
So, with all the ribbons stitched in place, I got started on the backing. I like to make an envelope style, so cut my two pieces of fabric. I decided to jazz it up a bit and have different colours 🙂 I used to leave it with no fastening but having recently learned how to use the fancy automatic buttonhole maker on my machine, I now do buttons! I dug out 3 brown but mismatch buttons (continuing with the eco-friendly, upcyling theme) and made my buttonholes.
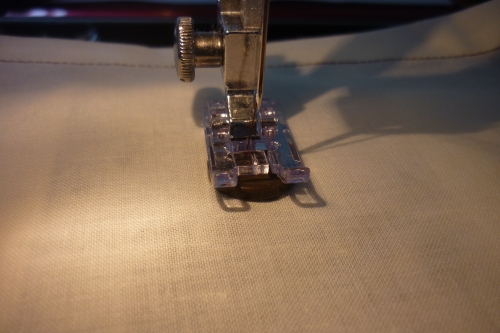
Now for the really amazing part, where I got to use my newly learned trick of sewing buttons on by machine. I learned how to do this last week. Wow, it makes life a lot easier!! If you’re reading this and haven’t tried it before, do it!! It’s dead easy, you just need a special foot; my machine came with it.
With all that done, I fastened the back up – phew, it all lined up well. I then had a slight panic whereby the feed dogs wouldn’t lift back up again (after lowering them to stitch on the buttons), I ‘phoned a friend’ who told me to start sewing (providing the feed dogs switch is in the right position) and they should come back up – oh yeahhhh… must remember this!
So, with the machine back in action, I could continue. I stitched all the way around the outside, trimmed it, clipped the corners, turned right-side-out, pressed, stuffed in a cushion pad and (phew) ta-dah! A beautiful cushion was born 🙂
I hope you’re inspired!
Beth x


Pingback: Sewing: What to Read | After Dark Sewing
This is lovely Beth! And I think I recognise some of the ribbon 🙂 I might have to borrow this idea 🙂 x
LikeLike
Thank you Kirsty! Let me know if you make a similar one 🙂 x
LikeLike
Sorry for my late comment Beth, have been meaningleave one since reading this post when it came up in my feed.
I love your cushion! It’s so simple, but so effective too. Would make great gifts for people too.
I have a button foot on my machine, that I’m yet to try. Looking at the finish of your cushion, I think I’ll have to give it a go ready for my next cushion cover.
LikeLike
Don’t worry, I wasn’t waiting for a comment from you!
Thanks a lot, I’m glad you like it.
Do try out that button foot, you will be amazed! It’s so easy too. There will be no going back once you discover it! 🙂
LikeLike
Wow that’s amazing idea! Thanks for sharing!
LikeLike
Thanks a lot, and you’re welcome 🙂
LikeLike
This is great, I have loads of ribbon and fabric hanging around so might rustle one up 🙂
LikeLike
Thank you 🙂 please let me know if you do make one similar, I would love to see it!
LikeLike
Ooo feel free to make me one anytime 🙂 these are very pretty! Xx
LikeLike
Maybe I will! Thank you 🙂 🙂 xx
LikeLike
Oh it’s so pretty!
LikeLiked by 1 person
Thanks for commenting! I agree!! 😀
LikeLike
Nice pillow! Your writing in so easy to follow, may try this myself!
LikeLiked by 1 person
Thank you! Yeah go for it! It’s simple but effective 🙂
LikeLike