Simplicity 1363 took me 6 months to make

Hey-hey! On Saturday I made two things for myself! One was from scratch whilst the other was a very longstanding UFO that I started in 2015, probably around August time.
Today I’m sharing what was the UFO because it links to The Monthly Stitch’s February theme of UFOs!
So I started this top last year, when the weather was good. It’s view D of Simplicity 1363:

1363

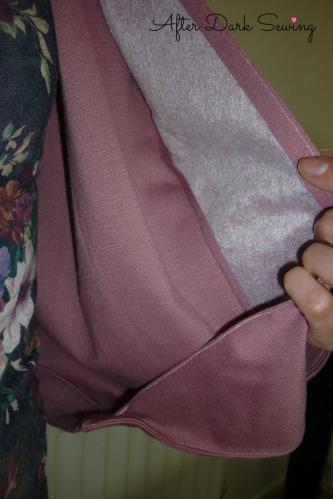
The fabric I used is gorgeous; it’s called peachskin – silky smooth to touch and pretty fluid-like. It actually wasn’t as challenging to sew as I thought it might be. But I remember the reason I stopped making it last year was because I reached a step saying I needed bias binding. And I couldn’t be bothered to make some.

But I picked it up on Saturday just gone, looked at it, and discovered I only needed some 1/4″ single fold binding, to use just round the armholes and it wouldn’t be seen. And I had just about enough ready-made 1/4″ white polyester binding! So that would do! Had I just read the pattern properly and thought about it a little, I may not have left it unfinished for so long. Ah well!

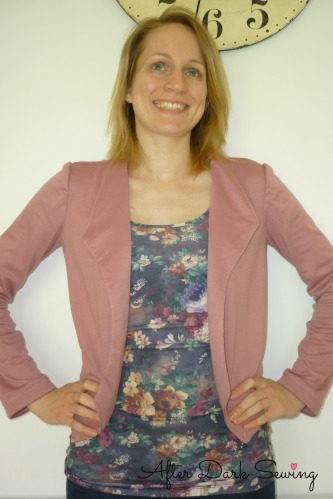
So anyway here’s the finished top!

simplicity 1363

I have to say, I really really love it. I’ve worn it twice so far and it’s so comfortable. The fit is pretty damn perfect, straight out the packet. Impressive seeing as I often have issues with armscyes being too tight. And of course I loooovvveee the blue/white polka design!

simplicity 1363

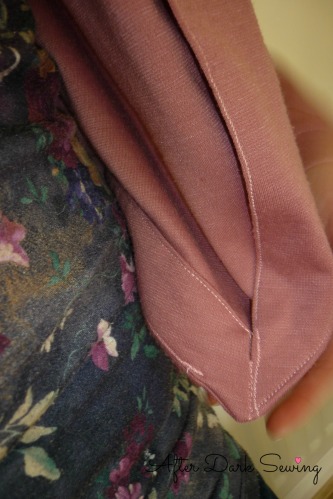
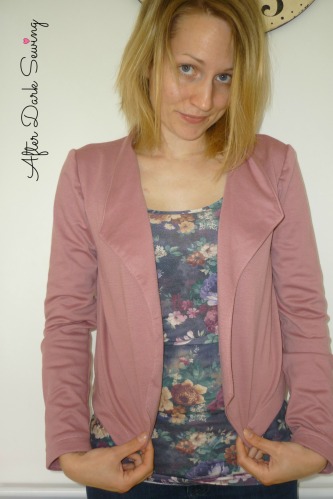
As you can see it features a high-low hem; there’s an added panel at the back hem. I forgot to take a photo but I rolled the hem by machine. Super quick when you don’t have to press it first! I have a love/hate relationship with my rolled hem foot but it’s 80% neat on the inside!!

simplicity 1363

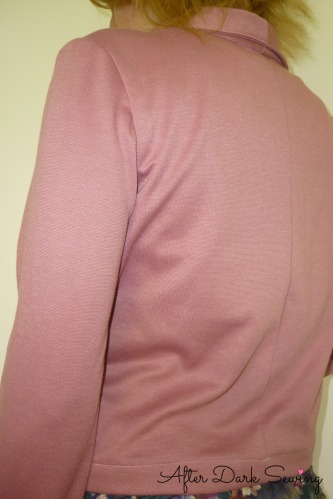
It has a little slit in the back, and fastens with two little buttons – I used some cute hearts! I can actually pull it over my head easily without faffing with the buttons, but I like them as a decorative detail regardless.

simplicity 1363

Yeah I need to cut and tidy the thread in one place… I have obviously been wearing a cardi over the top this week so it’s OK! And I wore it before taking photos, hence it’s creased in the photos haha!

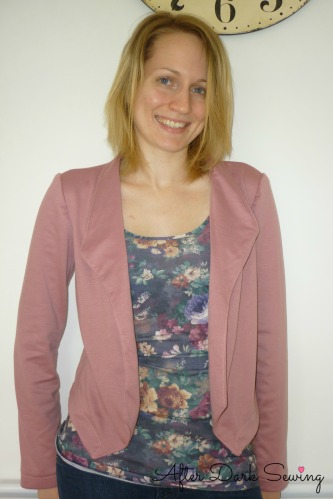
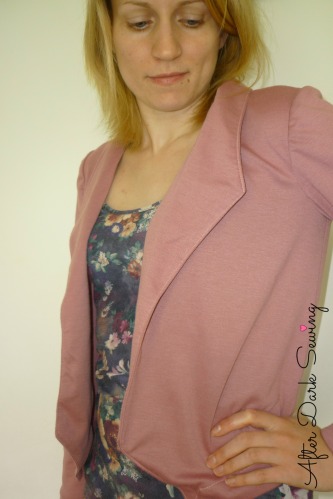
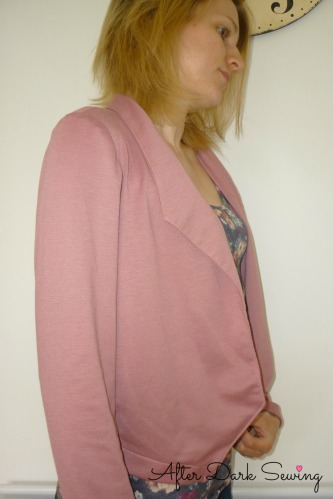
Selfie of me wearing it paired with my Morris Blazer. Handmade double whammy 🙂

simplicity 1363 + morris blazer

I do recommend this pattern. I’m going to do the view with cap sleeves too (one day!!)

It’s always annoying to read this but I got the lovely fabric from my local-ish shop (Masons in Abingdon, Oxfordshire)! But if you come across some floaty peachskin, get it! For this kind of top it’s lush. In fact I bought it for making a jumpsuit in June ’15 but didn’t get round to that did I… So I bought 3m I think! You’ll probably see it on the blog again!

Beth x

The Morris Blazer

Here’s the moment you’ve all been waiting for.* My Grainline Morris Blazer.

*(Slight exaggeration perhaps but I know one of you is at least!)

Grainline Morris Blazer.

I finished it last week; it took about a week of evenings to make.

I didn’t like it at first; I can see the imperfections and the difficulties I has with the sewing machine eating it were clear in my memory. But I have to admit that it’s growing on me.

Grainline Morris Blazer

For a start it’s comfortable. It fits all right. I lengthened the sleeves because I like my sleeves long, and I’m really happy that I did that. And I love the colour. It goes with everything! [Nearly.]

But I stitched almost all of it using a stretch stitch, which perhaps wasn’t necessary. I also used my walking foot, which is noisy and takes forever! As you can see it is a slouchy fit!

Grainline Morris Blazer..

Step 15 and sewing the hem and front facings down was confusing. I got there in the end but it took a LOT of unpicking and chewing of the fabric. (By the machine that is – not me!) And the end result is messy. I can’t even say I learned anything because I’ve already forgotten what I did and I didn’t write it down!!

Grainline Morris Blazer inside 1

I’m really ashamed of that! It looks a right mess!! But I had just had enough by that point and just rammed it through the machine.

The other two things that bug me about the finished piece are…

Grainline Morris Blazer inside

1) The interfacing is on show. Not when it’s worn but I can’t help but think there should be a lining piece to cover it. And 2) There are two raw edges. It’s fine in this case but had I used a fabric that frays then it wouldn’t be so fine. Did I miss a step saying to finish those edges?

The rest of the blazer’s seams were finished with an overcasting stitch. I didn’t need to finish them fray-wise but I quite like the neatness of it. Apart from round the armholes in places where my machine liked to take a good bite.

Grainline Morris Blazer!

I will probably make another although not in such an annoying, light and cheap ponte roma.

Grainline Morris Blazer 2

I’m not sure about how it’s sticking out in the above photo. I want the entire lapels to lay flat.

Grainline Morris Blazer

Don’t laugh at this final photo. I was saying how it’s not even hanging symmetrically. I don’t know if that’s just the photos or it’s always like that and I messed that up too!

Grainline Morris Blazer 4

Phew, now that’s over and done with I’m going back to wovens for a while!

Beth x

P.S. I just realised we are so close to the end of Me-Made-May already. How did that happen?! “See you” on Sunday for my final roundup!